
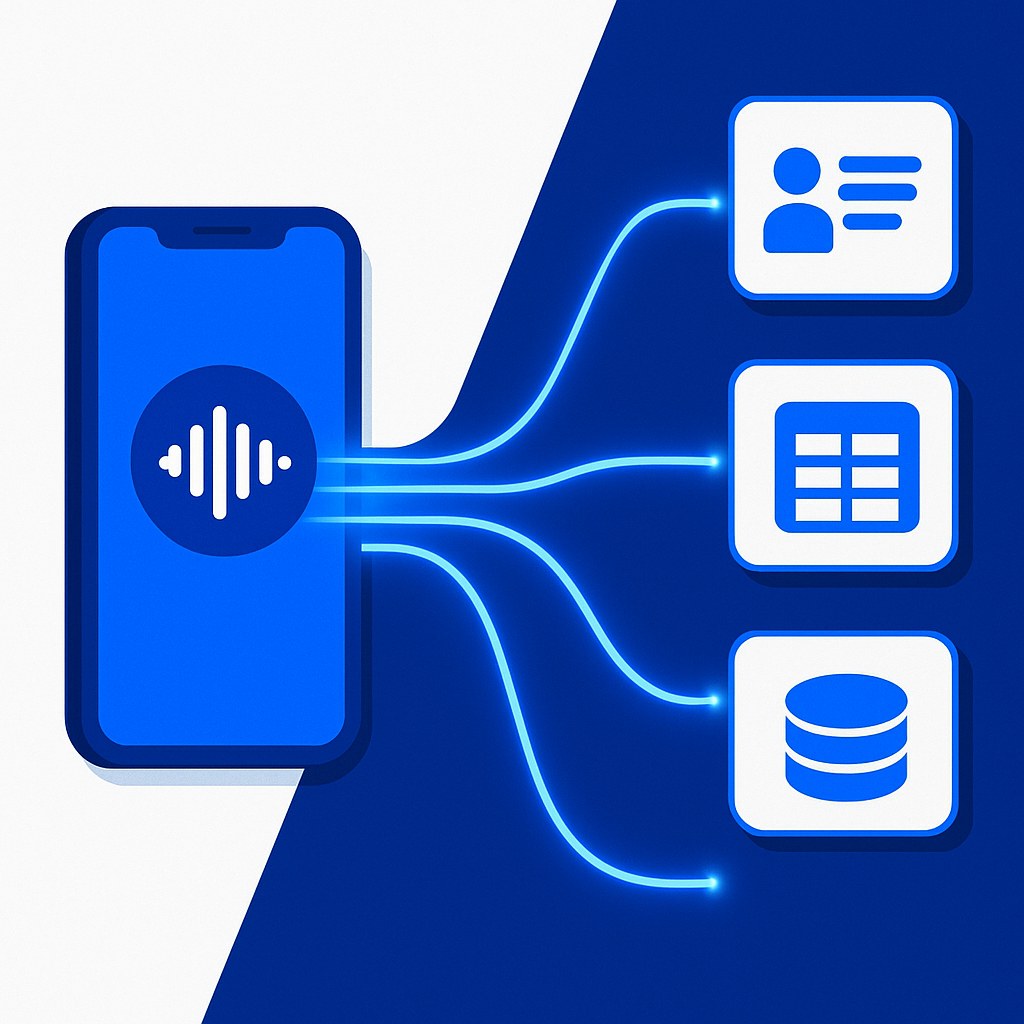
Using Webhooks with Your AI Receptionist: Connect to Any Tool
If you've been looking for a way to supercharge your ai receptionist webhook integration, you're in the right place. This is one of the most powerful — and most underused — features on the CallagentAI platform. When a caller books an appointment, leaves a message, or gets captured as a lead, that data can fire instantly into virtually any tool you already use. CRM, Slack, Google Sheets, your custom database — you name it.
I built this feature into CallagentAI because I kept hearing the same frustration from customers: "The AI handles the call great, but then I have to manually copy everything into our system." That's a workflow killer. Webhooks fix it completely.
What Is an AI Receptionist Webhook Integration?
Let's start with the basics — because "webhook" sounds scarier than it actually is.
A webhook is just an automatic HTTP request that gets sent from one app to another the moment something happens. Think of it like a text message your AI receptionist sends to your other software the instant a call ends. No polling, no manual exports, no delay. Real-time data delivery.
With ai receptionist webhook integration, every time your CallagentAI agent completes a call, it can push a structured JSON payload to any URL you specify. That payload contains everything: caller name, phone number, email, call transcript summary, appointment details, custom fields — all of it.
The receiving end could be:
- A Zapier webhook URL (to trigger any Zapier workflow)
- A Make.com (formerly Integromat) scenario endpoint
- Your own custom API or backend server
- A Google Apps Script URL that dumps data into Sheets
- A Slack incoming webhook to notify your team
- Any other HTTP endpoint that accepts POST requests
Honestly, once you understand how the payload is structured, the possibilities are basically unlimited.
Why This Matters for Your Business Workflow
Here's the thing most people miss: the AI answering the call is only half the equation. What you do with that call data afterward is where the real value compounds.
Without a proper ai receptionist webhook integration, you're stuck with a few bad options. You can log into the CallagentAI dashboard and manually review calls. You can wait for email summaries. Or you can just hope nothing falls through the cracks. None of those options scale.
Consider a dental office running CallagentAI for after-hours calls. Before webhooks, their front desk staff would check the dashboard every morning and manually enter new patient info into their practice management software. That's 20-30 minutes of data entry every single day. With a webhook firing into their system the moment the call ends, that patient record is already created by the time the office opens. Zero manual work.
Or a real estate agency where every inbound lead from a late-night call gets pushed directly into their CRM via webhook — with the lead score, property interest, and contact details already populated. Their agents wake up to a prioritized call-back list, not a raw list of voicemails to decipher.
That's the power of real-time ai receptionist webhook integration. It turns your AI receptionist from a call-answering tool into the front end of your entire customer operations pipeline.
How AI Receptionist Webhook Integration Works
When you configure a webhook in CallagentAI, you're telling the platform: "After each call, send a POST request to this URL with this data." Here's what the typical payload looks like:
{
  "call_id": "cai_a1b2c3d4",
  "timestamp": "2026-03-15T14:32:00Z",
  "caller_name": "Sarah Mitchell",
  "caller_phone": "+15551234567",
  "caller_email": "sarah.mitchell@email.com",
  "call_duration_seconds": 187,
  "call_summary": "Caller inquired about a root canal procedure and booked an appointment for March 20th at 10am.",
  "appointment_booked": true,
  "appointment_datetime": "2026-03-20T10:00:00Z",
  "custom_fields": {
    "insurance_provider": "BlueCross",
    "referral_source": "Google Search"
  },
  "transcript_url": "https://callagentai.com/calls/cai_a1b2c3d4/transcript"
}
Your receiving endpoint gets that payload, parses it, and does whatever you've programmed it to do. Create a CRM contact, send a Slack notification, update a Google Sheet row, trigger an email sequence — anything.
CallagentAI sends all webhooks with a shared secret in the request headers, so your server can verify the request actually came from us. That's standard webhook security practice, and it's important if you're accepting data into a production system.
Webhook Triggers You Can Configure
Right now, CallagentAI supports webhook firing on several events:
- Call completed — fires after every finished call (most common)
- Lead captured — fires specifically when contact info is successfully extracted
- Appointment booked — fires when a Cal.com booking is confirmed during the call
- Call transferred — fires when the AI routes the call to a human agent
- Voicemail detected — fires with transcript when a voicemail is left
You can configure different webhook URLs for different triggers, or send everything to one endpoint and filter on your end. Totally up to how your stack is set up. Check the integrations page for the full list of supported events and the complete payload schema documentation.
Real-World Use Cases (With Examples)
I want to get concrete here, because "connect to any tool" is kind of abstract. Let me walk through a few actual setups I've seen CallagentAI customers build using ai receptionist webhook integration.
1. Push Leads Directly into Zoho CRM
This is actually a native integration we built, but the webhook method works too if you need custom field mapping. A law firm in Chicago set up their CallagentAI agent to capture the caller's case type, urgency level, and contact info during intake. Their webhook fires into Zoho CRM and creates a new lead record under the correct practice area pipeline — automatically. Their intake coordinator reviews flagged urgent cases first thing every morning instead of listening to 15 voicemails.
2. Zapier → Slack Notification + Google Sheets Log
This is probably the most common setup for small businesses. You point your webhook at a Zapier webhook trigger URL. Zapier then runs a two-step workflow: first, it posts a formatted message to your team's Slack channel with the caller's name and call summary. Second, it appends a row to a Google Sheet that serves as your daily call log. The whole thing takes about 15 minutes to configure in Zapier — no coding required.
3. Custom API → Your Own Database
For the developers reading this: you can point the webhook directly at your own REST API endpoint. We've had e-commerce businesses on Shopify do this to sync caller data with their order management system, and SaaS companies routing trial sign-ups from phone calls directly into their user database. The payload is clean JSON, headers include authentication, and the format is consistent — making it straightforward to integrate.
4. SMS Follow-up Automation via Make.com
One HVAC company sends an automatic SMS 10 minutes after every inbound call — even calls that were fully handled by the AI. Their Make.com scenario receives the webhook, checks if an appointment was booked, and sends one of two SMS templates: a confirmation message with the appointment details, or a follow-up message offering to schedule. Their booking conversion rate went up 23% from that one automation alone.
Step-by-Step Setup in CallagentAI
Ready to configure your first ai receptionist webhook integration? Here's exactly how to do it.
Step 1: Get Your Webhook URL
First, you need a destination URL. If you're using Zapier, create a new Zap and select "Webhooks by Zapier" → "Catch Hook" as the trigger. Copy the webhook URL it generates. Same process in Make.com — create a new scenario with a webhook module and grab the URL.
Step 2: Open Your CallagentAI Agent Settings
Log into your CallagentAI dashboard, navigate to your AI agent, and open the Integrations tab. You'll see a "Webhooks" section near the bottom of the page.
Step 3: Add Your Webhook Endpoint
Click "Add Webhook," paste in your destination URL, and select which trigger events you want to fire it. For most use cases, start with "Call Completed" and "Lead Captured." You can always add more triggers later.
Step 4: Test It
This is critical — don't skip this. Hit the "Send Test Payload" button. CallagentAI will fire a sample payload to your URL with dummy data so you can verify it's received correctly on the other end. In Zapier, you'll see the test data appear and can map the fields to your next action. In your own API, check your server logs to confirm the request came through with the right format.
Step 5: Save and Run a Live Call
Save your webhook configuration, then call your CallagentAI number from a test phone. After the call ends, watch your destination system — within a few seconds, the payload should arrive. If something doesn't look right, check the webhook delivery log in your CallagentAI dashboard, which shows every attempt and the response code returned.
Common Mistakes to Avoid
I'll be blunt here — I've seen these trip up even technically experienced people.
Not handling duplicate events. Webhooks occasionally fire more than once for the same event (network retries are the usual culprit). Your receiving system should check the call_id field and skip processing if it's already seen that ID. This is called idempotency — build it in from the start.
Not validating the webhook signature. CallagentAI sends a signature header with every request. If your endpoint is public (which all webhook endpoints are, by definition), you should be validating that signature before trusting the payload. Don't skip this if you're writing to a real database.
Using a slow endpoint. Your webhook URL needs to respond with a 200 status code quickly — within a few seconds. If your server is doing a ton of processing synchronously before responding, CallagentAI may interpret the delay as a failure and retry. Accept the webhook, return 200 immediately, then process asynchronously.
Forgetting to handle partial data. Not every call will have every field populated. If a caller hangs up before providing their email, that field will be null or absent in the payload. Your code needs to handle missing fields gracefully instead of throwing errors.
Next Steps
If you've made it this far, you've got a solid foundation for setting up your own ai receptionist webhook integration. The real fun starts when you start chaining automations together — webhooks feeding data into workflows that trigger follow-ups, update records, notify teams, and route leads automatically.
If you're not on CallagentAI yet, check out the features page to see everything the AI receptionist can do before and after a call. And if you want to see the webhook payload live with your own business info, the best way is to just try it — the demo is free to set up and you can have a webhook firing within minutes.
For details on what's available in each plan — including webhook event limits — the pricing page has a full feature comparison. The ai receptionist webhook integration capability is available on Professional plans and above.
Questions about your specific setup? Drop a comment below or find me on LinkedIn. I read every message — that's not something a corporate brand would say, but I actually do.